
Hi there everyone,

here's a tutorial that everyone's been waiting for, a cool ribbon 8"x8"album cover which is a sneaky to show the 2nd page and still look wonderful with a pink heart shape ribbon on the top! Its a ribbon on ribbon fun! I'm not sure if the photos look little serious but the lighting is a little gloomy cause of the impending raining outside my window. (thats the perfectionist in me speaking) This actually turned out to be real easy and fun and the effect you get from it is totally WORTH IT!
**warning: this is a super photo heavy post! (which i like to do! hahaha)

Here's some sneak peaks on the cover! love adding random stuffs to it!

TUTORIAL
We will be working from scratch! Firstly, you start off with a 8"x8" chipboard and cut a window with 3/4" at all sides.

2. Print out this heart shape template. (pardon me if the heart shape isn't perfect but its hand-drawned by me!)

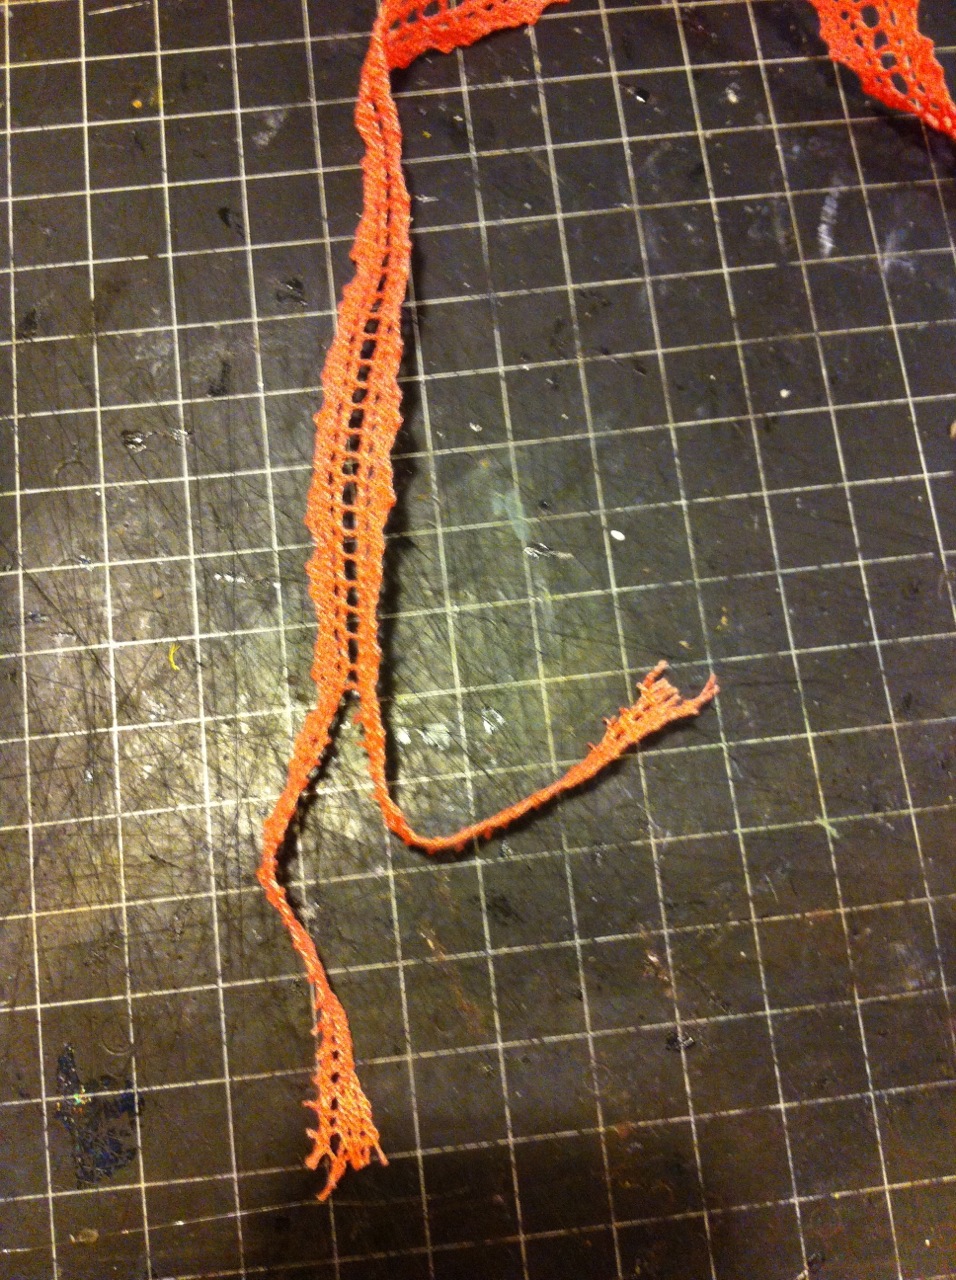
Start off with a thin mayarts ribbon, I used it wind around the frame systematically, starting from the top. Add glue on the frame to hold the ribbon in place before winding it.
Note: make sure that it is not too tension or too loose!

There you see i purposely left gaps here and there cause it doesn't need to be perfect.

Cut one of mayarts lovely pink ribbon into half! I used about 1.2 metres for this one, you can add more if you need more effect.
Then place the hand-drawn template behind the frame. You will be able to see it even though its not that clear.

Next, use the pink ribbon and tie on to one part of the string. Make sure its tight enough to hold the string. Next, weave the ribbon up and down randomly.

Don't be afraid to add glue if you are worried that your heart shape will go out of place!

End off by gluing or tying to the think ribbon! Decorate However you like!
Part 2 (optional): as you can create your album however you like, this part is unnecessary if you just want a nice frame! I bind this album in a simple way, using washi tapes!
1. put 2 papers side by side and use wash tape


cut off the excess! And use washi tape on the spine of the album as well! That easy!
Here are some pages which I did:
Remember how the cover shows alittle of whats inside? So I added a photo behind the heart shape! You can actually see it at the front cover (realise it now? hahahaha)

some random pages I did... I feel like adding some ribbons to these pages... ;) In case anyone asks, I used Glitz colour me happy collection for the pages and cut outs ! love them!


There you have it! my album is complete! Would you like to try it too?
Let me know when your work is complete! :D
Thanks for the wait everyone! I hope this surprises you! :)
p.s: just wanna say thank you everyone for their support and asking me when they meet me about my progress for the DT call!
(crossing my fingers for the selection!)
Pin It
That's really cute!
ReplyDeleteOne of them is Libomax. If you have heard of it, you must know that it generated a lot of hype when it was released. People were wondering if it worked like Viagra or if it had a different mechanism.
ReplyDeleteNeedless to say, there are a lot of questions. Lucky for you, we have the answers to all of them and we’ll discuss them in this guide.